Before beginning, please make sure you have installed all pre-requisites according to Nordic nRF instructions. See Setup for Nordic development
Obtain the source code
Obtain the nRF directory, including manifest, from Signetik's public repository:
west init -m git@github.com:Signetik/fw-nrfconnect-nrf.git --mr signetik-lr-develop-public
Update or checkout new repositories from the manifest:
west update
Build Setup
Set up the build environment for the current shell:
cd zephyr
source zephyr-env.sh
cd ..
export ZEPHYR_TOOLCHAIN_VARIANT=gnuarmemb
export GNUARMEMB_TOOLCHAIN_PATH=/opt/gnuarmemb
NOTE: if you are using a toolchain in a different location, adjust the last two lines from the above commands to correspond to your toolchain.
Build the blinky application for the SIG-LRN board as a test:
west build -b signetik_siglrn zephyr/samples/basic/blinky
This should result in the following relevant files:
build/zephyr/zephyr.hex
build/zephyr/zephyr.elf
You can load the hex file into the SIG-LRN and verify the LED blinks, or proceed to the reference application.
Reference Application
Create Versioning Info
Linux or Mac:
cd lora_iot/client
./ver.sh
cd ../..
Windows
A Windows script does not exist to generate version information. Simply create lora_iot/client/_sigver.c with the following contents.
/* THIS FILE IS GENERATED FROM ver.sh */
/* DO NOT COMMIT IT OFTEN or EVER. */
const char* GIT_REV="";
const char* GIT_TAG="v0.9.1-rc1-37-gb2db196";
const char* GIT_BRANCH="HEAD";
Configure
Configure the application to use a "test task" which will send LoRaWAN packets periodically.
west build -b signetik_siglrn lora_iot/client -t menuconfig

Enter Signetik Client and Select Custom application:

Select LoRa test application

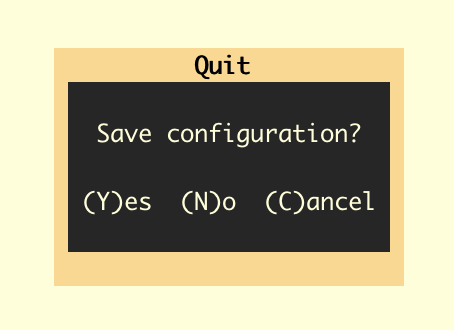
Press escape until you see the following screen.

Press (Y) for Yes.
Build
west build -b signetik_siglrn lora_iot/client
This should result in the following relevant files:
build/zephyr/zephyr.hex
build/zephyr/zephyr.elf
Comments
0 comments
Please sign in to leave a comment.