Login to SigNet Website: http://iot.aws.signetik.com:3000
If you do not have an account, you can register for a new account.
1. Define and Enroll Device on SigNet from Admin page
1.a Create new Report types if the existing ones do not suit

1.b Create New Device type if needed, and choose report types supported by this device

1c. Create/Register a device of the chosen DeviceType

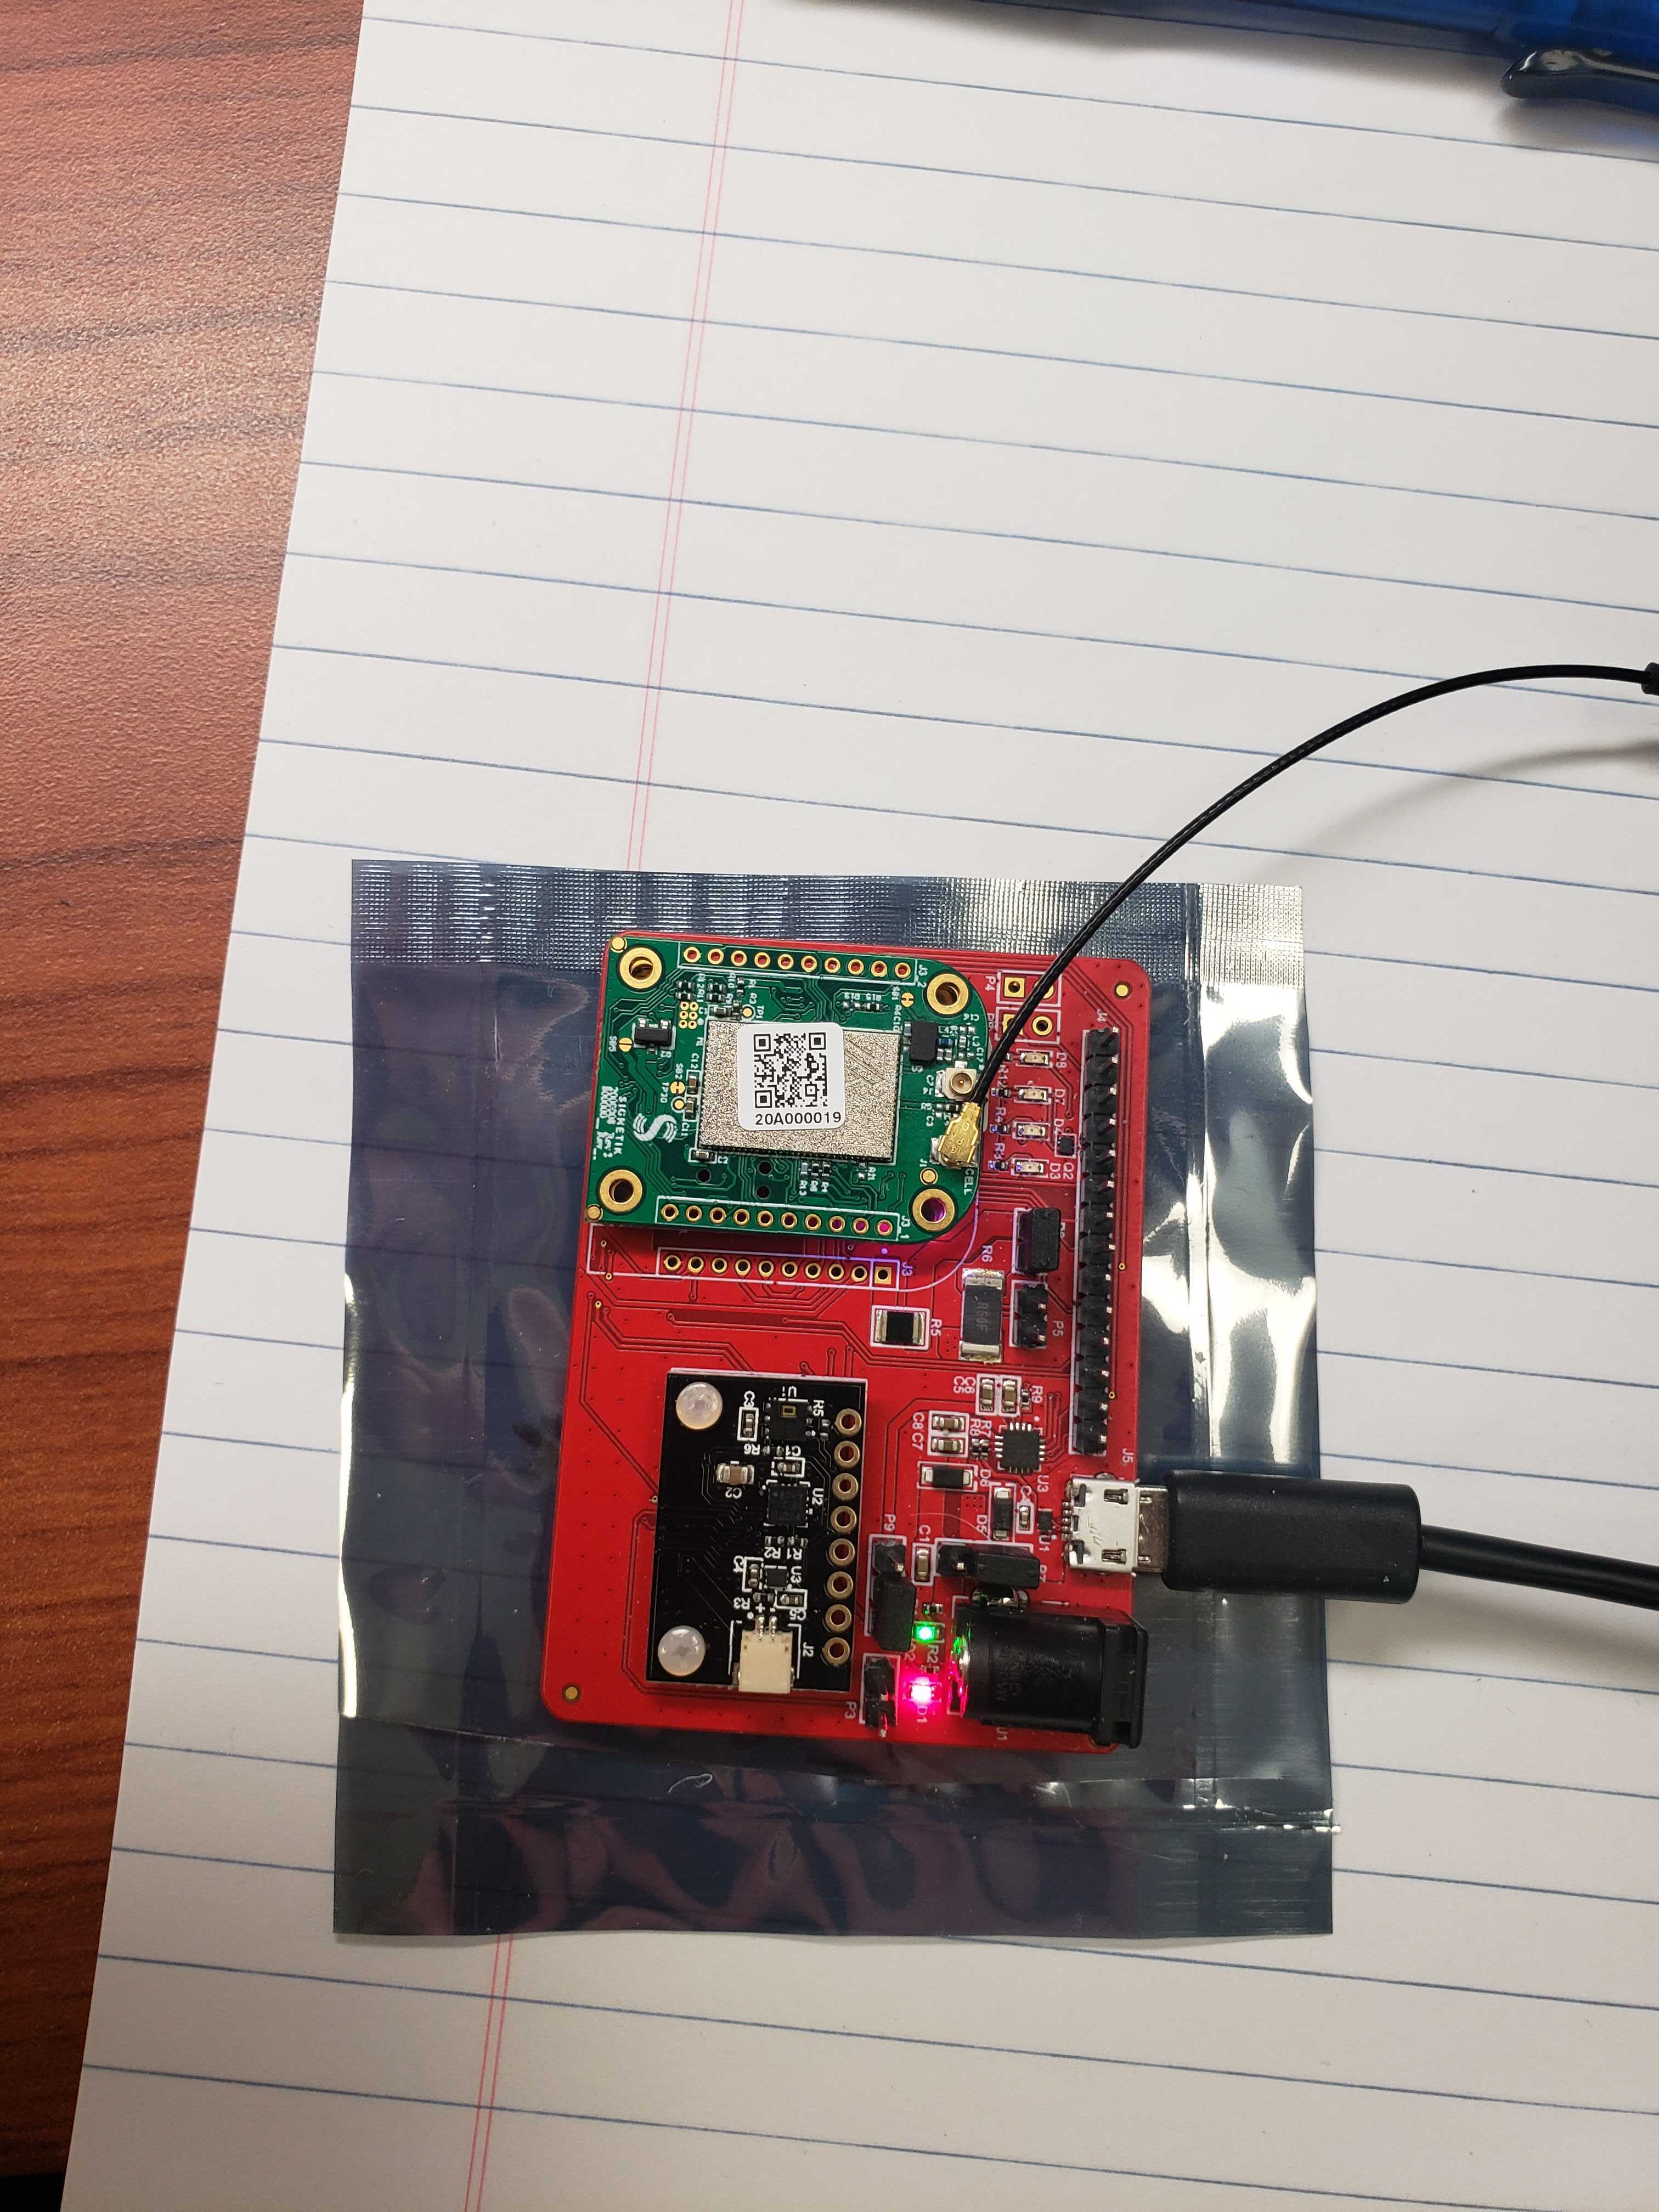
2. Setup hardware by following the steps for SigDev hardware connection

Connect USB port to computer to provide power, and access the API UART.
More details on hardware connection can be found in [REF 1]
3. Configure and connect device
The following commands are issued to API UART via USB connection.
Note that +set commands are used to set parameters, +get commands are used to query parameters, +rsp messages are synchronous responses from the module, +notify messages are asynchronously sent by module as events occur.
On power up, module bootstraps and connects to network automatically, and prints the following messages. SigCell LED will be blue while bootstrap is in progress. LED will turn into a different color after bootstrap to indicate signal strength. [REF 2]
+notify,carrier:connected
+notify,imei:352656100169195
+notify,event:coap,init:1
Application firmware version and modem firmware version can be queried as follows
+get,firmware
+rsp,firmware:v1.0.8
+get,mfirmware
+rsp,mfirmware:mfw_nrf9160_1.2.0
Assign DeviceID to match the setting on Server in step 1.
+set,devid:11112222
+rsp,devid:11112222
Set DeviceType and Report types. This matches DeviceType and ReportTypes from step 1
+set,devtype:AccelTempDevice
+rsp,devtype:AccelTempDevice
+set,queue1:accel_temp
+rsp,queue1:accel_temp
Enable Device to connect to network
+set,enabled:1
+rsp,enabled:1
Data is sent from device to server by the following push command. Notethat the variable names and value types should match the ReportType definition in step 1.
+push,accel_temp,x:1,y:2,z:3,T:30
+rsp,result:0,mark:4
+notify,event:coap,sent:1
+notify,event:coap,received:1
Optionally, the device can be set to poll sensors periodically and post to server
+set,sensor_poll:1
+rsp,sensor_poll:1
Expect notification messages like this when the device is sampling and posting to server
+notify,event:htu21d,init:1
+notify,event:htu21d,sample_fetch:1
+notify,event:htu21d,sample_fetch:1
+notify,event:coap,sent:1
+notify,event:htu21d,off:1
+notify,event:coap,received:1
4. View data on website by navigating to the device page via `Devices` link at the top and then selecting the device.
The device page can be accessed directly with an URL such as this. Note the deviceID at the end of the URL.
http://iot.aws.signetik.com:3000/device/11112222

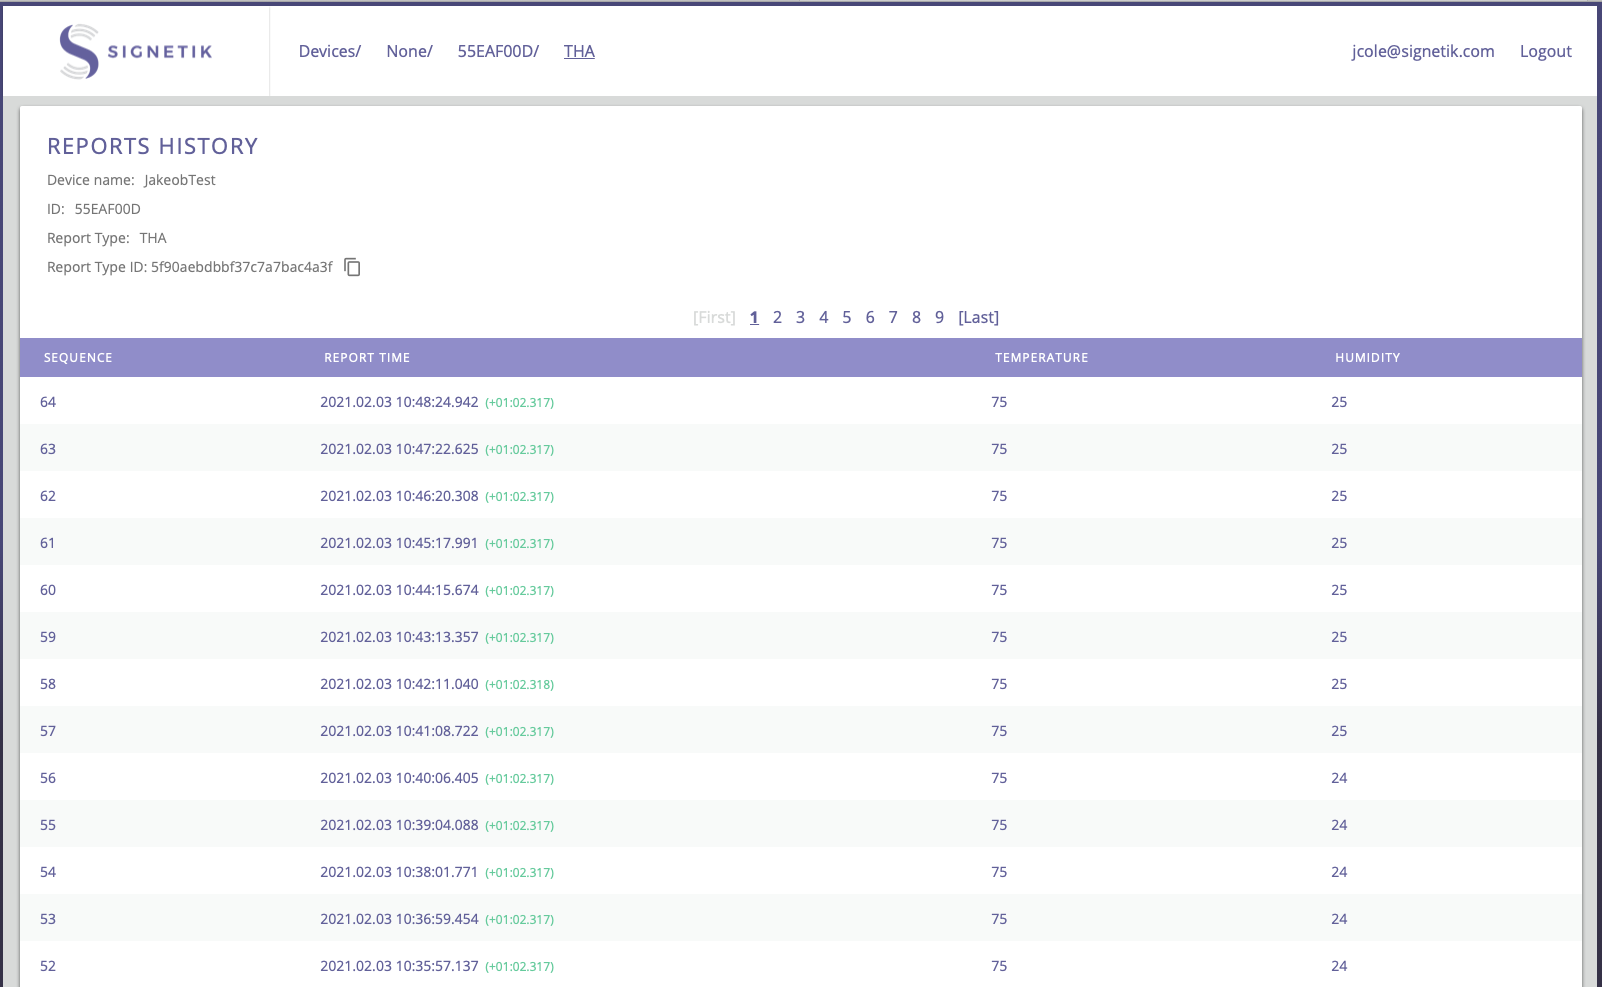
Select the report type of interest to view Report History.

Here is a sample screenshot of another device with longer reports history. Pagination allows navigating to older reports.

Reference:
Comments
0 comments
Please sign in to leave a comment.